|
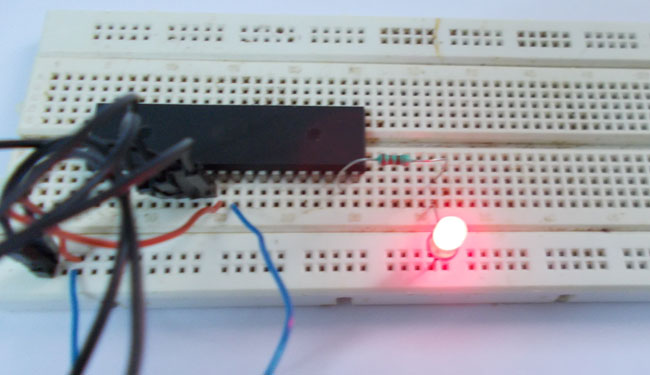
实现闪烁LED功能通常是快速入门电子产品的首要步骤。在本篇文章中,我们将一个LED指示灯与ATmega32微控制器进行连接,该控制器属于AVR系列。我们将以0.5秒的速率闪烁LED。
需要的硬件和软件
● ATmega32A微控制器 ● 电源(5v)
● AVR-ISP Programmer
● 100uF电容
● LED指示灯
● 220Ω电阻 ● Atmel Studio 6.1 ● Progisp或flash magic
电路和工作说明

上图展示了LED指示灯与AVR微控制器进行连接的电路图,这里不需要连接外部晶振。因为ATMEGA默认使用内部的1MHz振荡器。只有在需要时钟精度的情况下,作为高精度计数的应用,才会使用外部晶振。
此处连接电阻以限制流过LED的电流。请注意,AVR控制器在端口不能提供超过30mA的电流。

编程说明 ATmega32微控制器闪烁LED的程序如下所示。代码中的注释解释了各行的作用。 - #include <avr/io.h> //header to enable data flow control over pins
- #define F_CPU 1000000 //telling controller crystal frequency
- #include <util/delay.h> //header to enable delay function in program
- int main(void)
- {
- DDRD = 0xFF; // ( or 0b1111 1111)
- while(1) 、
- {
- PORTD = 0xFF; // all pins of PORTD are said to provide 5v output or told to pull high (LED ON)
- _delay_ms(220); //delay for 200ms
- _delay_ms(220); );
- PORTD = 0x00; // all pins of PORTD are said to provide ground at output or pull down
-
- _delay_ms(220); );
- _delay_ms(220); );
- }
- }
|